


Materials You Need to Hang a Picture:
-
A framed print
-
A hammer
-
Measuring tape
-
Painter's tape
-
A pencil
-
Picture hangers (for lighter pieces)
-
Wall plug anchors (for larger pieces)
-
Command strips (optional)
We don't recommend trying to hang art 30 minutes before guests come over. While a single picture may only take you 20 to 40 minutes to hang, a gallery wall will take at least a few hours to get just right.
Gather Your Supplies
Before you hang your picture, you'll need to pick the right method. For most pictures, a simple nail will do just fine, but wider pictures will benefit from a picture hanger. Heavy, glass-framed pictures will likely need to either be nailed directly into a stud (you'll need a stud finder for this), or you'll need to get a wall plug anchor.
We also recommend a roll of painter's tape so you can see exactly where the picture will hang and, of course, a pencil and measuring tape to get the nail just right.
Find the Right Space
Now that you have everything you need to hang that piece of artwork, you'll have to decide where to hang it. Whether above a fireplace, behind a couch, or in a hallway, you'll need to envision just what the picture will look like when it's on the wall.
If you're not hanging a whole gallery wall, consider hanging art in threes. This type of arrangement is pleasing to the eye and often a lot easier than hanging a lot of pictures. Artwork hung behind the couch should not have a lot of white space left over (both between the couch and your picture as well as on the sides).
Mark Exactly Where the Picture Will Go
When it comes to figuring out where on your wall that picture should go, the rule of thumb is that every piece of art should be hung roughly at eye level. Of course, eye level will vary from person to person, so we recommend the rule of 57 inches. This means the center of your artwork should be 57 inches above the ground so that it catches the eye and doesn't leave a lot of white space on either side.
We recommend the rule of 57 inches. This means the center of your artwork should be 57 inches above the ground so that it catches the eye and doesn't leave a lot of white space on either side.
Measure and Mark Where to Hammer
You'll probably need a second pair of hands for this part. Have your friend hold the picture directly over the centered painter's tape, lining it up with the middle of the frame. Next, mark the wall with a pencil where the top of the frame hits. We also like to use another piece of painter's tape here so you can line up exactly where the hammer should go.
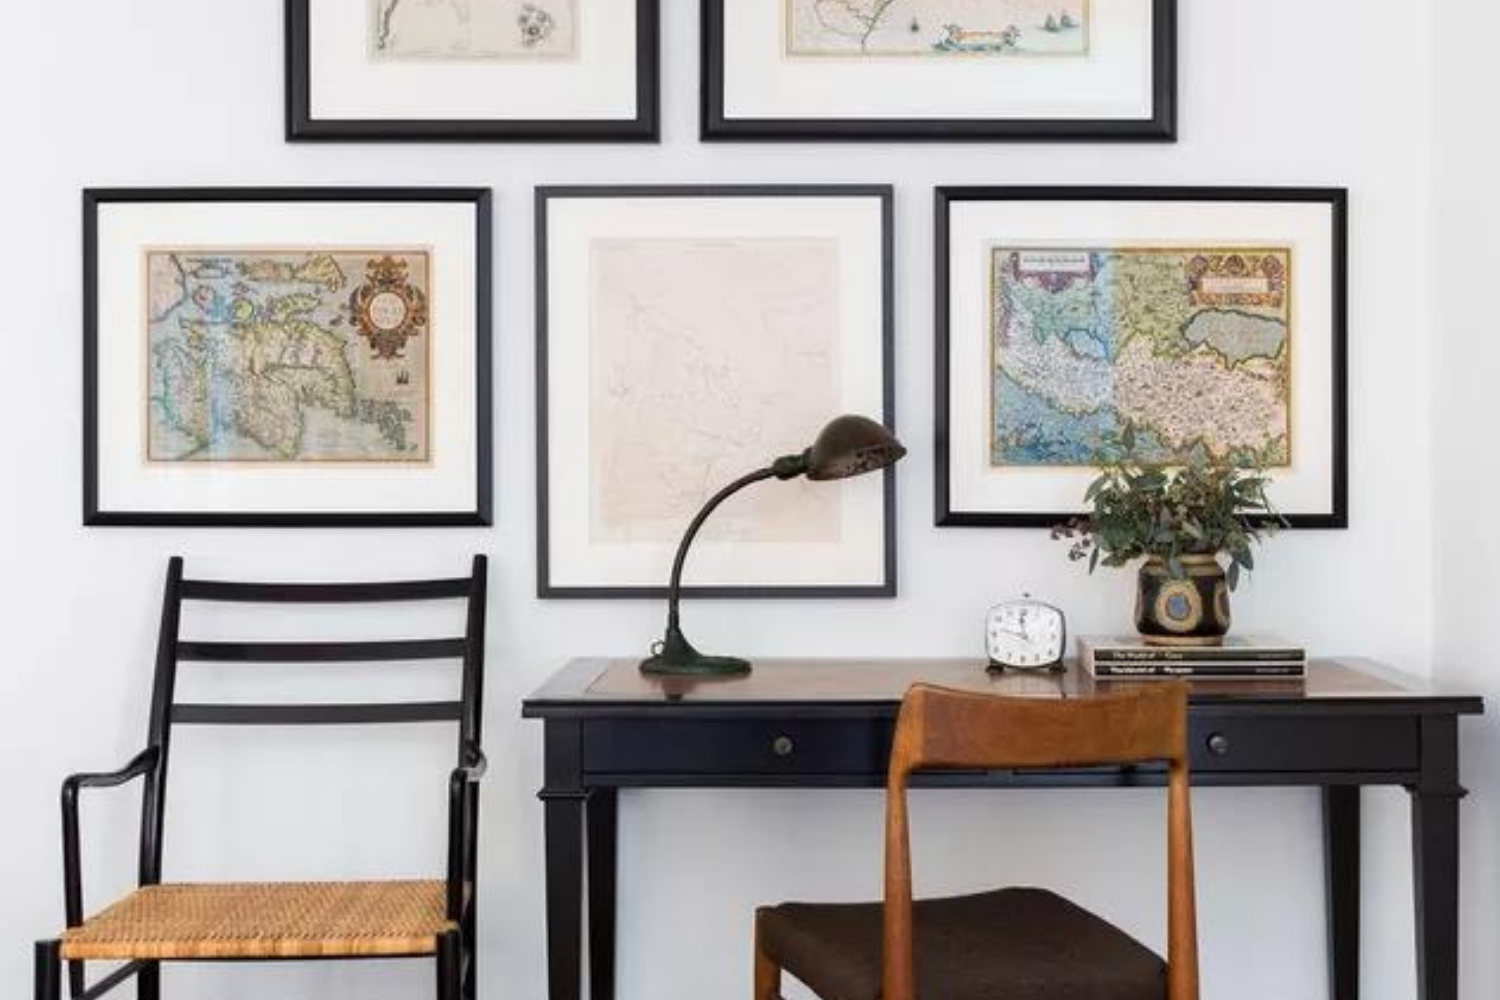
Measure the back of your frame so you know exactly where the picture hooks should go, and then mark on the painter's tape where to hammer. If you're hanging a canvas print without hooks (for example, if you're placing the frame directly on the nail), measure the length of the frame and mark in the exact middle (or at one-third and two-thirds if you're using two nails).
:max_bytes(150000):strip_icc():format(webp)/DesignedWilliamHunterCollective_StyledbyEmilyHendersonDesign_PhotobySaraTramp-Ligorria_8-4721c4282b6b40ea942835bf120f7c9e.jpg)
Once you know where the nail needs to go horizontally, you'll need to measure down the length of the print vertically. This will depend on your exact frame, but if the frame is two inches thick, that's how far you would make a mark.
This part is the trickiest, so don't be afraid to hold the picture up a few times before you start nailing to ensure you get it just right.
Hang the Picture
Ah, now comes the fun part. Once you have the holes all lined up, it's time to finally bring out the hammer. If you're using a simple nail, this part is self-explanatory. A picture hook will need to be hammered downwards instead of straight in, while a wall plug anchor will be a two-step process. Most store-bought tools will come with instructions, so make sure to read carefully.
Creating a Gallery Wall
Creating a gallery wall will take a little more time and effort, but there are some tricks out there to make it easier. We recommend using parchment paper cut to the size of all of your prints so that you can easily visualize each piece of art on the wall. There are endless gallery wall arrangements you can use, but we suggest sticking to one and sketching it out on paper before beginning to visualize it on your wall.
Alternative Ideas
All of this measuring, taping, and penciling have you stressed out? The good news is you don't have to hang every single picture you have. If you have a mantel, leaning the artwork is a great way to show it off and create a more casual look.
If you're constantly swapping art and rearranging, consider hanging a picture ledge or shelf. This way, you can still display your art at eye level, but you can easily swap pieces in and out on a whim without sacrificing your drywall.


Laisser un commentaire
Ce site est protégé par hCaptcha, et la Politique de confidentialité et les Conditions de service de hCaptcha s’appliquent.